Welcome to our van build! Chapter 1 is windows, and for good reason. Before you start on anything with building out your van, you need to decide on windows. If you are lucky enough to buy a van that already has all the windows you would like, PERFECT! You can just read along and envision needing to cut up your van. But if you are like us, you bought a windowless shell of a van. This guide is a great place to start.
Window Placement
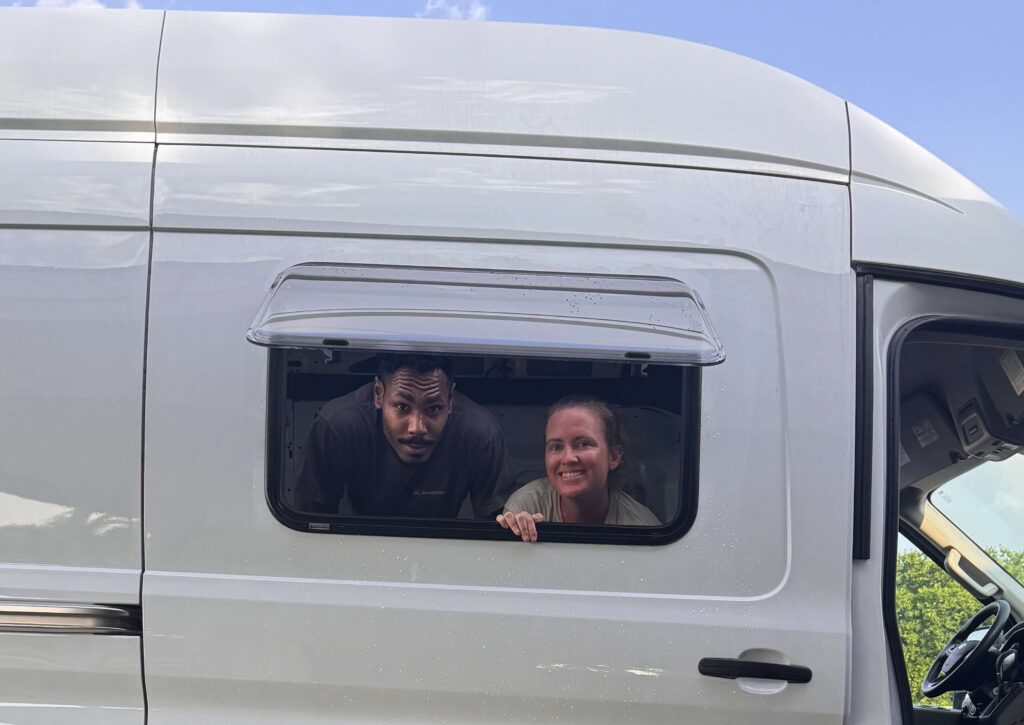
Since our floor plan was picked, we knew where we needed our windows. We wanted to have two windows across from each other for the living space/bedroom. This was important so we feel as open as possible, and have a really good cross breeze. We also measured out a window where our kitchen would be, which is perfect for when were cooking. The back two windows we helps really pull air from the front windows.
Arctic Tern Windows
Arctic Tern Windows by Tern Overland offer a game-changing upgrade for any van build. These windows feature dual-pane glass for insulation. They have built-in blackout shades and screens. The durable awning-style design excels in ventilation and these features enhance temperature control and privacy. They are perfect for vanlifers who crave both comfort and functionality on the road. The installation process is straightforward, it does involve cutting into your van. Tern Overland offers detailed instructions and support to help you get it right the first time. Once installed, the windows brighten the interior and improve airflow. They also hold up well against bumpy roads and unpredictable weather. Overall, their sleek appearance makes Arctic Tern Windows a top choice. Their sturdy construction adds reliability. Integrated features guarantee they are a must-have for those looking to enhance their van life experience.
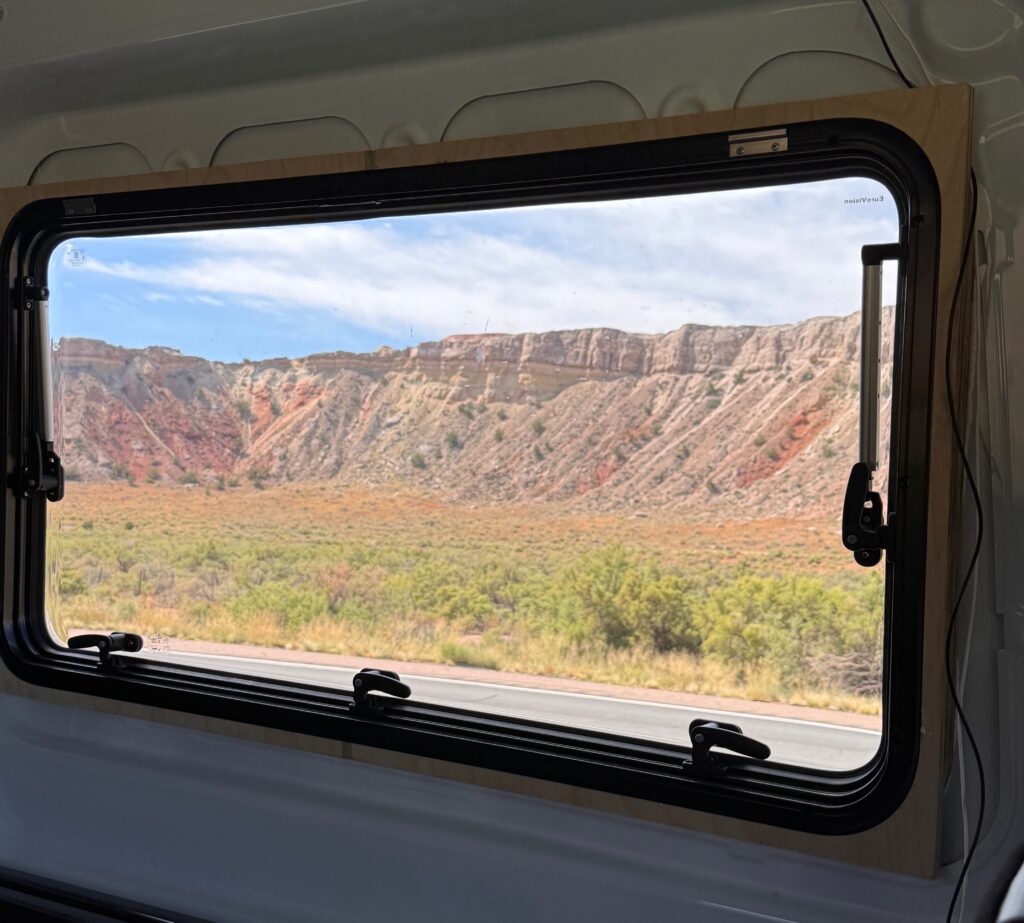
To learn more about these windows, check out our blog link
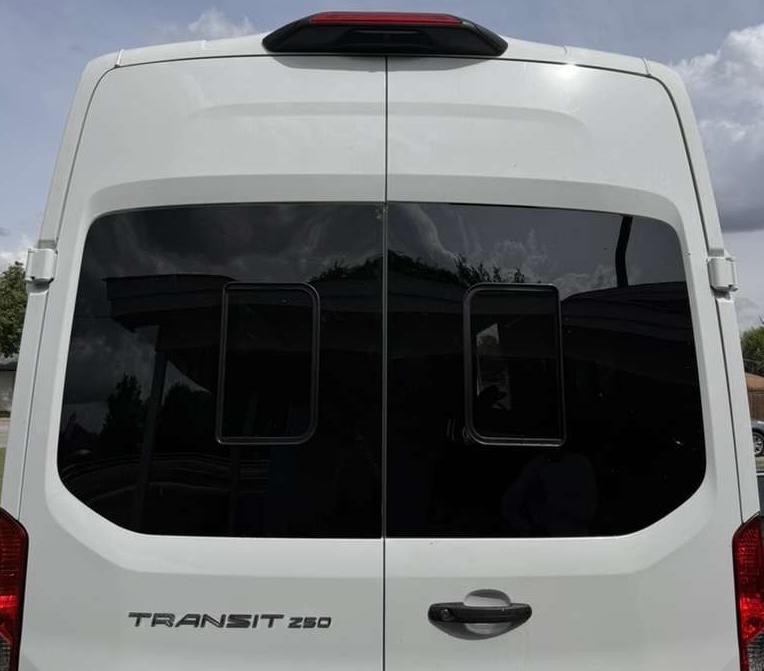
Van Windows Direct
Van Windows Direct back windows are a must-have upgrade for any van conversion. These durable tempered-glass windows bring in natural light. They boost airflow and add a polished look and your vehicle will feel more like home on the road. Designed for easy installation, they fit standard van cutouts. These windows include thoughtful features like tinted glass for UV protection and offer insulation for year-round comfort. Vanlifers praise their longevity and performance, especially on rough roads and in extreme temperatures. If you’re looking to enhance your van’s style and functionality, these back windows are a solid investment. They are straightforward enough for first-time DIY builders. Seasoned pros will also find them easy to install.
To learn more about these windows, check out our blog link
Things You Need
Planning & Protecting
Before you even pick up a power tool, it’s crucial to plan where your windows will go. A measuring tape lets you find precise dimensions, ensuring your cutout is the right size. Once you have your numbers, put painter’s tape along the outline. This action protects your van’s paint and creates a clear boundary for cutting. A marker (like a permanent or paint marker) helps you trace your final cut line boldly and accurately.
Once the cut lines are set, take steps to protect both your van and any personal items inside. Cover the interior floor with drop cloths or use tarps on surfaces to prevent damage. This ensures that metal shavings and debris don’t damage your finishes. For extra protection, use painter’s plastic near doorways and upholstery. It seals off areas that catch flying metal fragments or excess dust during the cutting process.
Cutting & Staying Safe
With your outline in place, you’re ready for the cutting stage. A jigsaw equipped with metal-cutting blades is perfect for creating smooth, controlled cuts in your van’s metal panel. Use a power drill with metal drill bits to create a starting point or corner pilot holes. To make sure the panel doesn’t shift mid-cut, use clamps to hold it steady. Later, to fasten the window into place, use screws or fasteners. Tighten them with driver bits or screwdrivers for a snug fit.
Throughout the cutting process, focus on safety. Debris and metal shards can fly in all directions, so put on safety goggles to protect your eyes. Similarly, work gloves prevent cuts from sharp edges and give you a better grip on your tools. Even though you’re primarily dealing with metal shavings, you should still wear a dust mask as a precaution.
Finishing & Cleanup
After making your cut, you’ll notice jagged edges around the new window opening. A metal file smooths these edges, reducing the risk of injury and preparing the surface for proper sealing. Apply a rust preventative primer to any exposed metal to ward off corrosion. Then use a high-quality sealant (like Sikaflex) around the perimeter of the cutout. This barrier ensures no moisture or leaks will sneak in once the window is fully installed.
Use rags dampened with isopropyl alcohol to wipe away excess primer or sealant. Remove any lingering grease or dirt. Do this before the window is set in place. A quick pass with a vacuum will pick up stray metal shavings and dust. This leaves your van interior clean and ready for your brand-new window. Taking the time to clean and tidy up properly is crucial to a successful installation.